
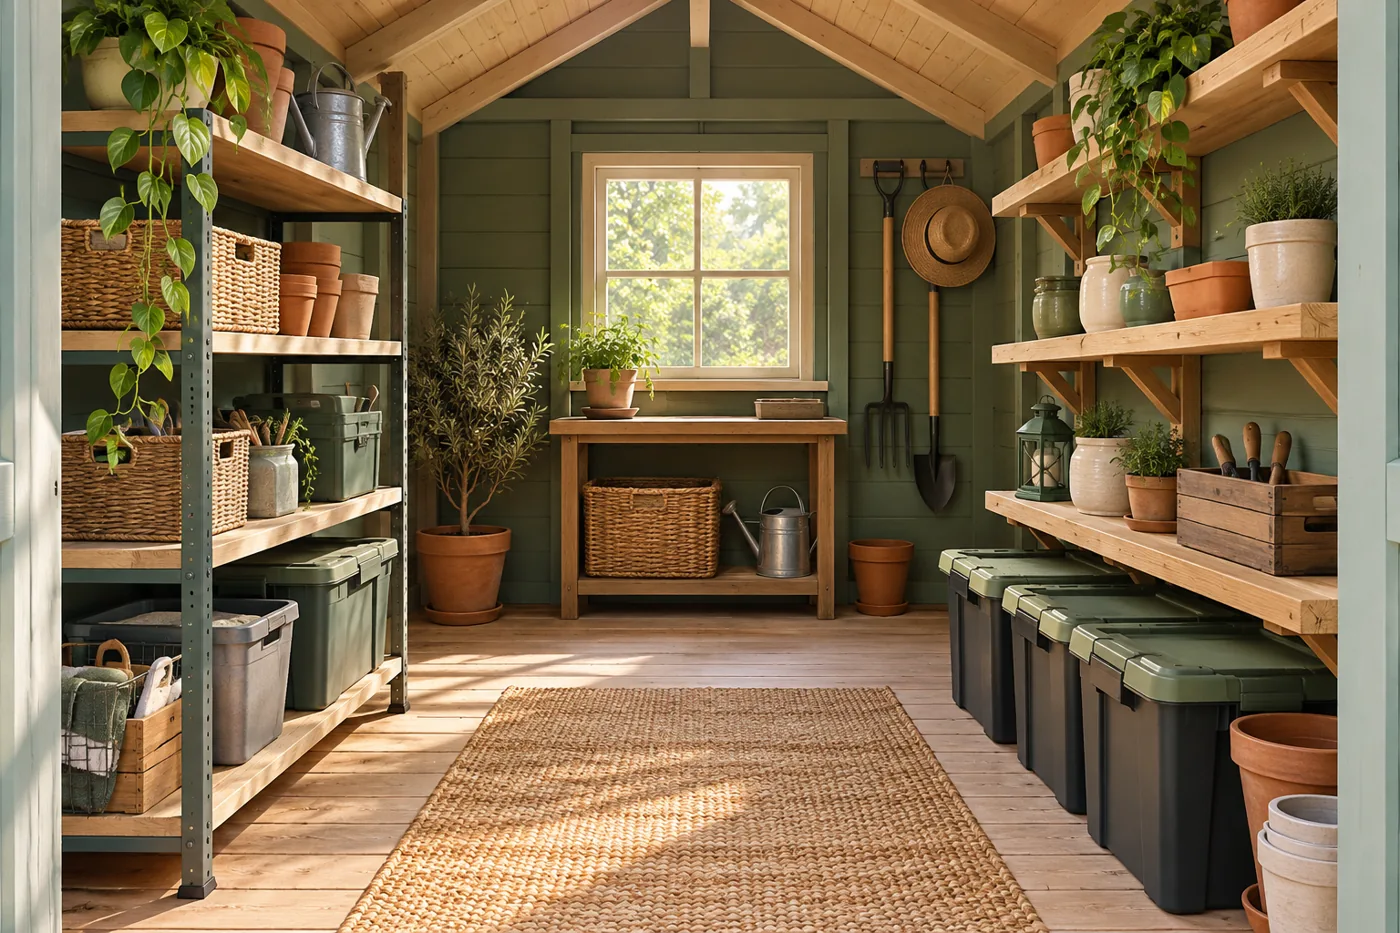
Freestanding shelving is usually the simplest starting point when the shed walls are not designed for arbitrary attachments. Wall-mounted shelving can preserve floor space, but only when the shed structure and mounting system can carry the intended load.
Start with what you need to store, not with the largest shelf unit that fits through the door. Heavy bags, small hand tools, and empty pots need different shelf spacing and support.
Compare the two approaches
| Decision | Freestanding | Wall-mounted |
|---|---|---|
| Load path | Through feet into shed floor and base | Through fasteners into approved structure |
| Best use | Flexible arrangements; walls unsuitable for drilling | Compatible systems; accessible floor below |
| Space tradeoff | Feet occupy floor; full unit depth matters | Brackets and items still project into aisle |
| Main checks | Shelf rating, floor capacity, tip restraint | Compatibility, structural attachment, load rating |
| Changes later | Often easier to relocate | May leave holes or require new supports |
Choose by shed construction
Wood: locate framing and determine whether it can accept the planned attachment. Fastening to thin siding alone is not the same as fastening to suitable framing. Use the shelf manufacturer’s fastening instructions and seek help when framing or load capacity is unclear.
Resin: molded panels and proprietary reinforcement are not ordinary stud walls. Use accessories explicitly compatible with your shed model or an appropriate freestanding unit. Do not assume a screw into plastic becomes a safe shelf anchor.
Metal: thin panels may deform under concentrated loads. Check for an approved internal support system or choose floor-supported storage. Cutting or drilling panels can also affect weather resistance and warranty coverage.
Depth matters more than shelf count
For small containers, begin by testing 12-inch shelves. Bulk bins may need 18 or 24 inches. Measure the container including handles and allow room to lift it out. Deep shelving that hides one row behind another can create wasted space.
In a hypothetical 96-inch-wide interior, two 24-inch shelf runs leave 48 inches between them. Two 18-inch runs leave 60 inches. Neither calculation includes items overhanging shelves or a mower parked in the center. Mock up the loaded shelf depth, not just the metal frame.
Read load ratings carefully
A rating may be per shelf, per unit, or valid only for evenly distributed loads. A single heavy container in the center is different from a spread-out load. Shelf capacity also does not establish shed-floor capacity. Consider the combined weight of the unit, contents, and concentrated loads at the feet.
Keep dense items low, lighter seasonal items high, and daily supplies between comfortable reach heights. Follow any tip-restraint requirement. If the shelving instructions require wall anchoring and the shed cannot provide it, select a compatible system rather than omitting the restraint.
A model-specific example
Lifetime’s 60404 shelf accessory page lists the shed models with which the kit is compatible. It is useful as an example of how to check compatibility—not evidence that the kit works in every resin shed. Match your model number, installation points, and current manual before ordering any accessory.
Build a simple shopping specification
- Maximum unit width, depth, and height, including braces.
- Size and weight of the heaviest container.
- Required shelf spacing and number of accessible levels.
- Floor and wall suitability, including restraint requirements.
- Door clearance for bringing the unit inside or assembling it there.
- Materials and finishes suitable for the shed’s dampness and temperature range.
Buy one unit first if the layout is uncertain. Load it, retrieve the biggest bin, and move your mower or bicycle past it. Expand only after that test works.
Source: Lifetime 60404 shelf kit, reviewed October 9, 2026. This is selection guidance, not a shelf-load design.
Continue planning
- How to Organize an 8×10 Shed: Three Practical Layouts
- How to Store Bikes in a Small Shed Without Blocking the Door
- Wood vs. Resin vs. Metal Sheds for Small Backyards
Image: AI-generated concept illustration; not a measured layout or product photograph.