
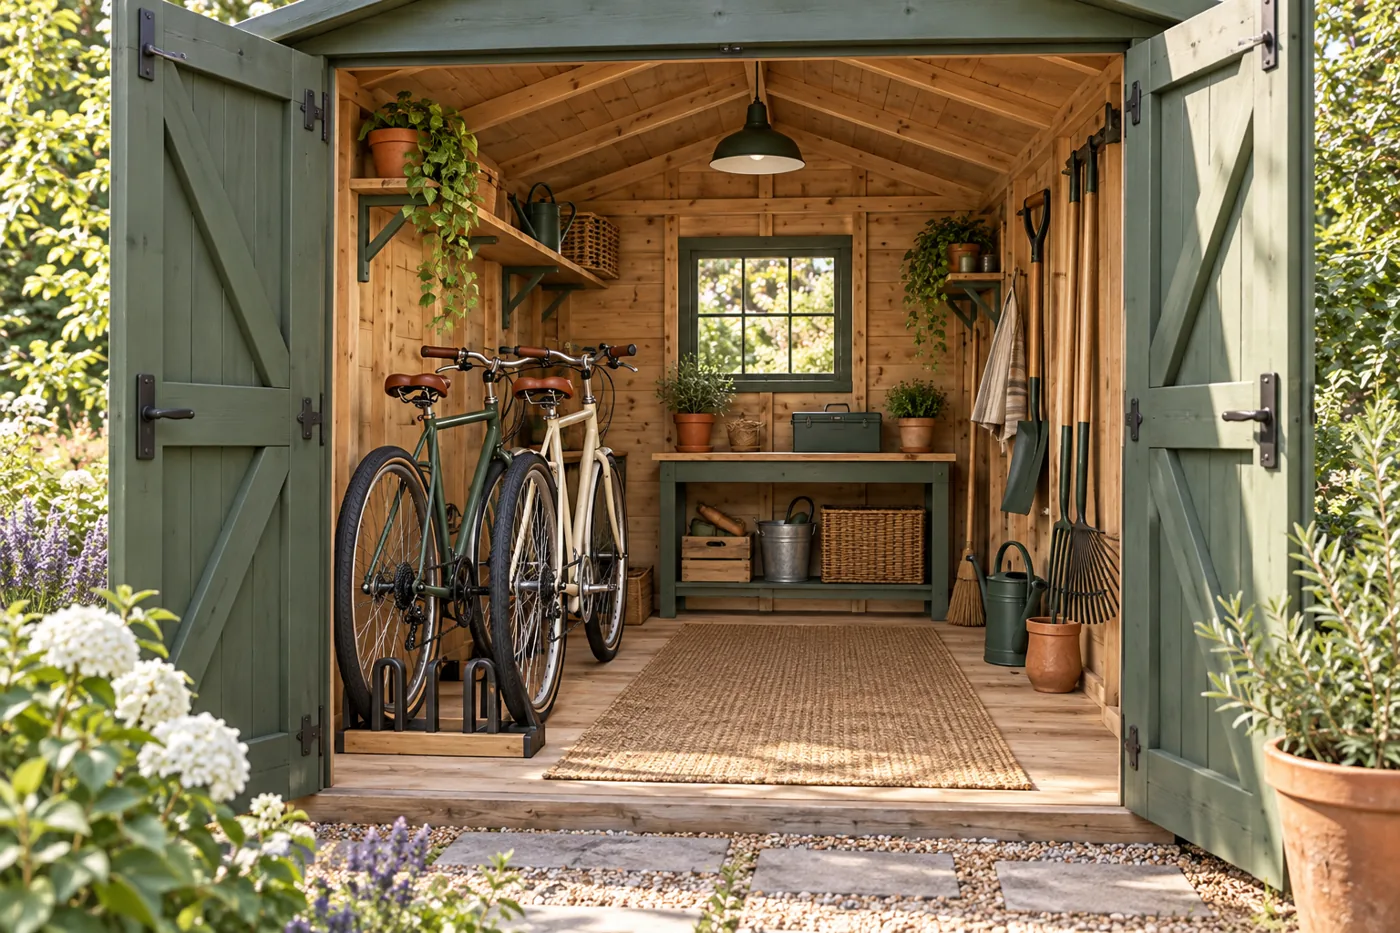
To store bikes without blocking the shed door, reserve the exit route first and fit the bikes around it. A compact rack only saves useful space if you can remove the bicycle you need without lifting it over bins or moving every other bike.
Measure more than wheelbase
Record overall length, handlebar width, and height. Include baskets, child seats, panniers, and fenders. For electric bikes, record weight and the maker’s battery storage instructions. Do not plan to lift a heavy bike onto a hook that exceeds your comfortable lifting ability.
Then measure the clear doorway and the route beyond it. A bike needs space for steering, pedals, and your body while moving. Tape the door opening and parking zones on the ground, and rehearse removal with the real bicycle.
Compare three arrangements
| Arrangement | Useful when | Tradeoff to test |
|---|---|---|
| Floor parking along one wall | Daily use, heavy bikes, easy rolling | Handlebars and pedals consume width |
| Staggered floor rack | Several bikes with overlapping bars | Rear bike may still be trapped |
| Vertical wheel rack | Compatible bike and rated support; enough height | Lifting effort and retrieval arc |
| Horizontal wall support | Suitable structural mounting and occasional use | Large wall length; bike projects into aisle |
Option 1: Keep wheels on the floor
Place bikes lengthwise along a wall with front wheels directed toward the exit. Use a rack suitable for the tire size and bike configuration rather than leaning bikes against shelves. Put the most-used bike in the easiest position. Wide handlebars may require a larger side zone than expected.
In a hypothetical 8-foot-wide interior, a 36-inch bike zone opposite 12-inch shelving leaves 48 inches between them. That is a layout calculation, not a promise that two bikes fit inside a 36-inch strip. Test pedal positions and whether the handlebars intrude into the route.
Option 2: Stagger handlebars
Alternating bike direction or using a rack with different wheel heights can reduce handlebar clashes. Check whether the arrangement creates a pedal snag or requires rolling the rear bike around the front one. A small footprint is not helpful when every ride starts with rearranging the shed.
For family bikes, decide which riders can remove their own bike safely. A layout that works for an adult may not work for a child moving a bike between tight shelves.
Option 3: Use vertical storage carefully
A vertical rack changes the shape of the occupied space; it does not eliminate it. The bike still projects from the wall, and you need a lifting or pivoting zone. Check total bike weight, wheel and tire compatibility, clearance for fenders, and the rack’s mounting requirements.
Wood framing may provide suitable attachment when correctly specified. Resin or thin metal wall panels should not be treated as unrestricted mounting surfaces. Use an approved system or a floor-supported rack with any required restraint. Lifetime’s accessory compatibility list illustrates why model-specific mounting matters.
Keep the entrance an equipment-free zone
- Do not park a bike across the doorway, even temporarily.
- Keep helmets and locks in a small accessible bin outside the handlebars’ path.
- Avoid shelves above a lift-up rack that interfere with the wheel or saddle.
- Keep the floor dry and sweep grit from the route.
- Preserve door operation, lock access, and a safe threshold crossing.
A retrieval test before buying a rack
Park every bike, load the proposed shelving zones, and close the shed doors. Open them fully and remove the least accessible bike. Repeat while the mower stays parked. If the test requires moving unrelated equipment, change the arrangement or reduce the storage inventory.
For e-bikes, follow the battery and charger manufacturer’s temperature and charging guidance. An unconditioned shed can be unsuitable; do not assume protected from rain means suitable for charging.
Source: Lifetime shed accessory compatibility, reviewed October 9, 2026. Rack suitability must be checked with its manufacturer.
Continue planning
- How to Organize an 8×10 Shed: Three Practical Layouts
- Small Shed Shelving: Freestanding vs. Wall-Mounted Options
- How to Store Long-Handled Garden Tools in a Small Shed
Image: AI-generated concept illustration; not a measured layout or product photograph.