
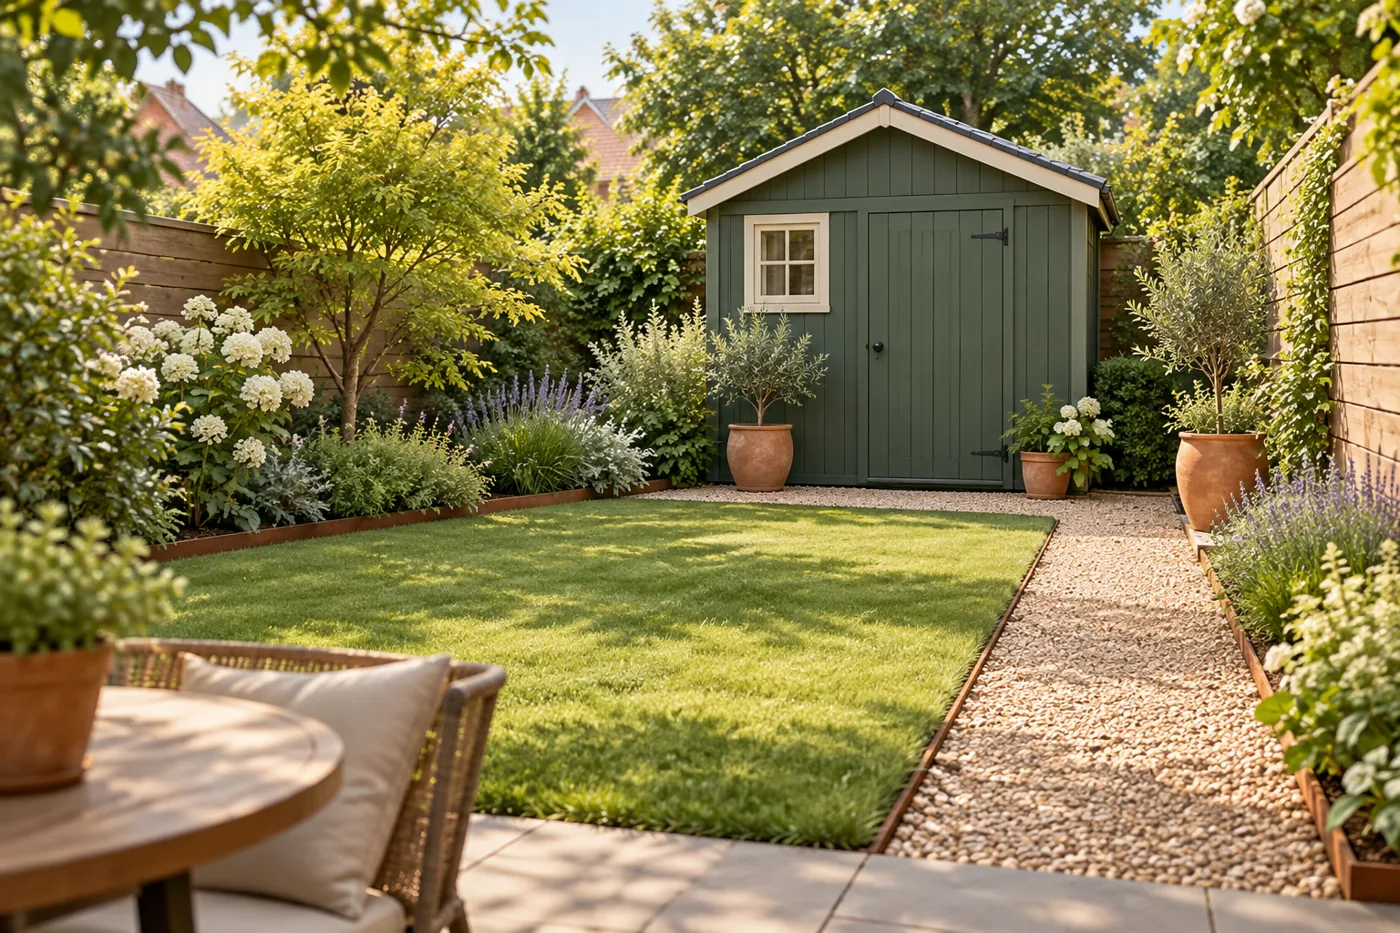
The best place for a small-backyard shed is an allowed, well-drained location you can reach easily with the largest stored object. Test the whole route and the space around the building before deciding that an unused corner is ideal.
1. Establish the permitted envelope
Find the building and zoning authority for your property. Ask about setbacks, height, lot coverage, easements, flood or environmentally sensitive areas, and how shed area is measured. Verify property lines rather than treating a fence as a surveyed boundary.
A building-permit exemption is not an exemption from all rules. Portland’s accessory-structure guidance, for example, says some small non-habitable structures can avoid a building permit while a zoning permit may still be needed. Your jurisdiction may use different criteria. Check HOA or deed restrictions separately.
2. Look at water before looking at views
Inspect possible locations after rain. Note standing water, roof runoff, sprinkler spray, and where surface water flows. Avoid a low spot simply because the shed would be hidden there. Do not redirect runoff onto a neighbor’s property.
Foundation and drainage design depend on the shed and site. Suncast requires a specified level foundation for its sheds; that flat support surface should not be confused with the surrounding yard’s drainage slope. Resolve substantial slope, soft ground, or persistent water before ordering.
3. Test equipment access
| Route segment | What to check |
|---|---|
| Street or driveway to backyard | Delivery method, gate width, overhead obstructions |
| Yard to shed door | Turning room, grade, surface, seasonal mud |
| At the shed entrance | Door swing, ramp footprint, threshold, standing space |
| Around the shed | Assembly access, maintenance, vents, roof runoff |
Move your mower or largest bin along the proposed route. For bikes, test steering around corners. A straight path can be more valuable than extra floor area. Ask the supplier whether the shed arrives assembled or as a kit, and what access the delivery or installation crew needs.
4. Keep room for installation and care
The footprint is only one rectangle. Roof overhangs, doors, ramps, foundation edges, and working space add to it. Check the assembly instructions for access around the building. Do not place a shed so close to a fence that its wall cannot be maintained or its vents are blocked.
Consider trees and vegetation: growing branches, roots, falling debris, and shade can change site conditions. Avoid excavation that damages major roots; get qualified advice when a mature tree is close to the intended foundation.
5. Match the location to daily use
A garden-tool shed should have a practical route to beds and hose access without blocking other activities. A bike shed works better near the gate than at the far end of an awkward lawn path. Mower storage needs a usable transition onto the lawn and room for the approved ramp.
Draw the remaining yard, not just the shed. Can you still sit outside, move furniture, maintain planting, and reach utilities? Mark the shed with stakes or tape and live with that outline for a few days.
Before any digging
Contact your state 811 service ahead of excavation and follow its notice and marking requirements. The national homeowner guidance explains the process; timing varies by state. Ask about private utility lines that may need a separate locator. Utility marks do not resolve property boundaries or permit requirements.
Location decision checklist
- Allowed location and height confirmed with the appropriate authority.
- Drainage observed, foundation requirements understood.
- Delivery and everyday equipment routes tested.
- Doors, ramp, roof overhangs, and maintenance space included.
- Usable lawn or patio space remains.
- Utility locating and site preparation planned.
Sources: Portland accessory-structure guidance, 811 homeowner guidance, and Suncast Foundation FAQs. Reviewed October 9, 2026.
Continue planning
- Small Backyard Shed Ideas That Preserve Usable Yard Space
- Do You Need a Permit for a Shed? A Local-Check Guide for U.S. Homeowners
- Gravel vs. Concrete Shed Foundations: How to Choose
Image: AI-generated concept illustration; not a measured layout or product photograph.